You know what you’re selling. You have a brand, a style, probably a folder full of product photos. What you don’t have yet is a live website — and every time you sit down to figure that out, you end up with seventeen browser tabs and a headache.
Setting up WooCommerce for a clothing boutique is genuinely straightforward once you know the order of things. The setup itself doesn’t require any coding. What it does require is understanding what each piece does before you install it — so nothing surprises you halfway through.
This post walks you through the whole process: hosting, WordPress, WooCommerce, and getting your first products live. Grab a cuppa and let’s go.
What You Actually Need Before You Start
Three things sit at the foundation of every WordPress store. Get these right and the rest of the setup clicks into place.
A domain name. This is your web address — yourboutiquename.com. Keep it short, on-brand, and easy to spell. Most hosting companies let you register a domain directly when you sign up, which keeps everything in one place.
Web hosting. This is where your website lives on the internet. Think of it as renting server space. For a new clothing boutique, shared hosting is fine to start. It’s affordable, beginner-friendly, and you can always upgrade as your store grows.
An SSL certificate. This is what puts the padlock icon in your browser bar. It encrypts customer data during checkout. Most reputable hosts include this free. Without it, browsers will flag your site as “not secure” — not a great first impression for a boutique.
Most new boutique owners pick up all three from the same provider. SiteGround and Hostinger both offer WooCommerce-specific plans that bundle domain, hosting, and SSL together for a few dollars a month.
Installing WordPress
Once your hosting is active, installing WordPress is usually a single click. Most hosts have a WordPress installer built into their dashboard — no manual downloads, no file transfers.
Log into your hosting dashboard, find the WordPress installer, and follow the prompts. You’ll set a username and password, which becomes your WordPress login. Write these down somewhere safe.
That’s it. Within a few minutes, you’ll have a WordPress site at your domain. It won’t look like much yet — that comes next.
Installing WooCommerce
WooCommerce is a free plugin that turns your WordPress site into an online store. It handles product listings, your shopping cart, checkout, payments, and order management — all from your WordPress dashboard.
To install it:
- Log into your WordPress dashboard (yourdomain.com/wp-admin)
- Go to Plugins > Add New
- Search for “WooCommerce”
- Click Install, then Activate
Once activated, WooCommerce runs a setup wizard. It asks for your store location, currency, and what types of products you sell. Go through it carefully — it sets the default settings for your entire store.
Within the wizard, you’ll also connect a payment method. Stripe (for card payments) and PayPal are the two most common options for boutiques. Both integrate directly and take minutes to connect.
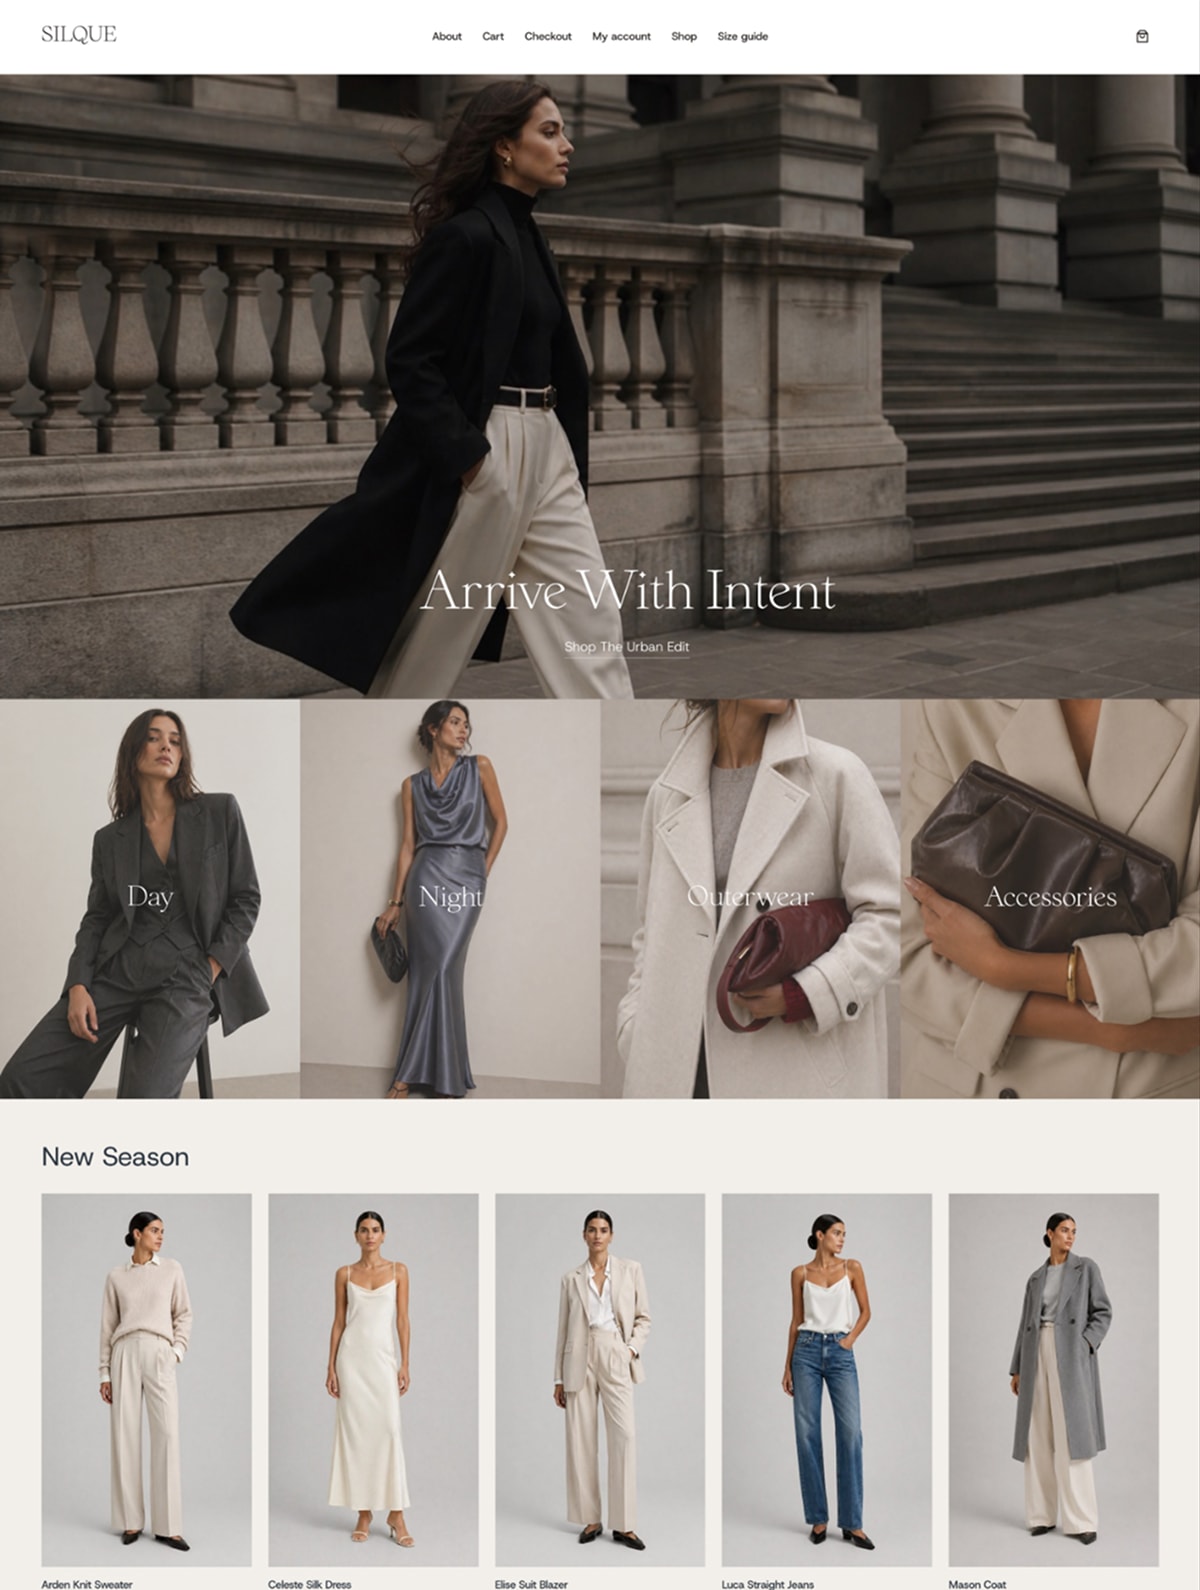
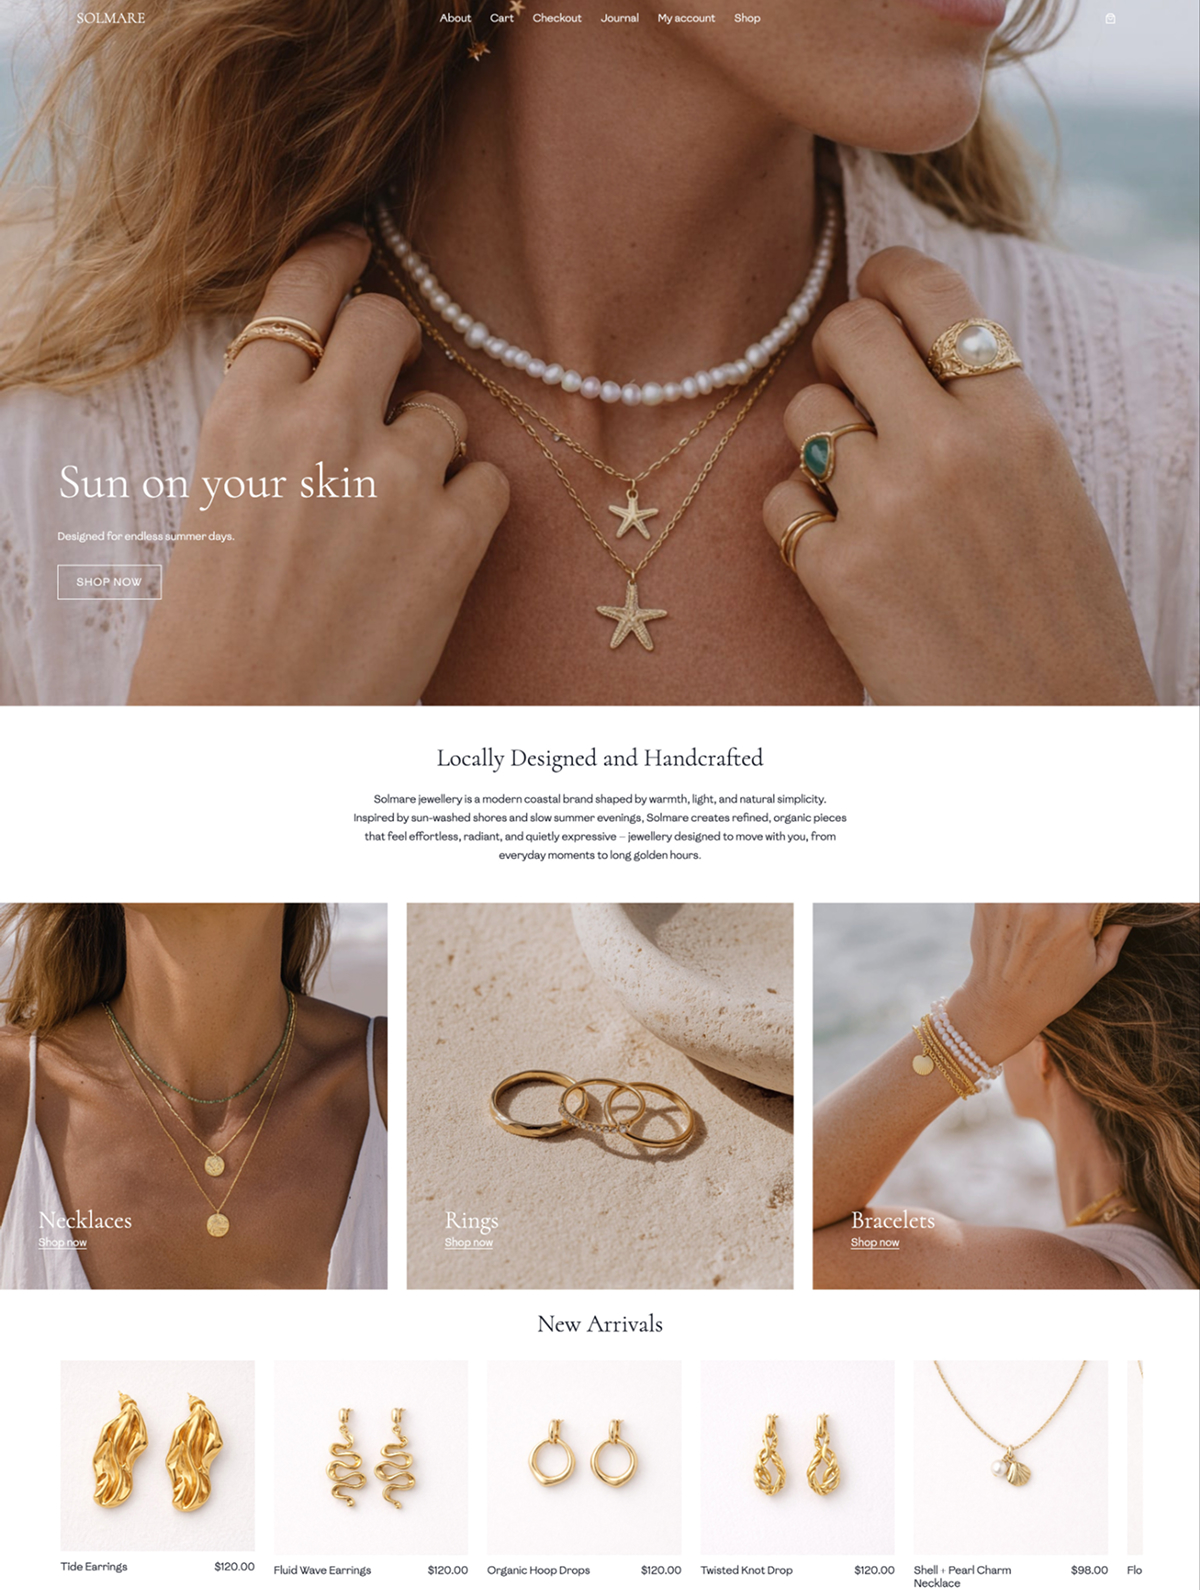
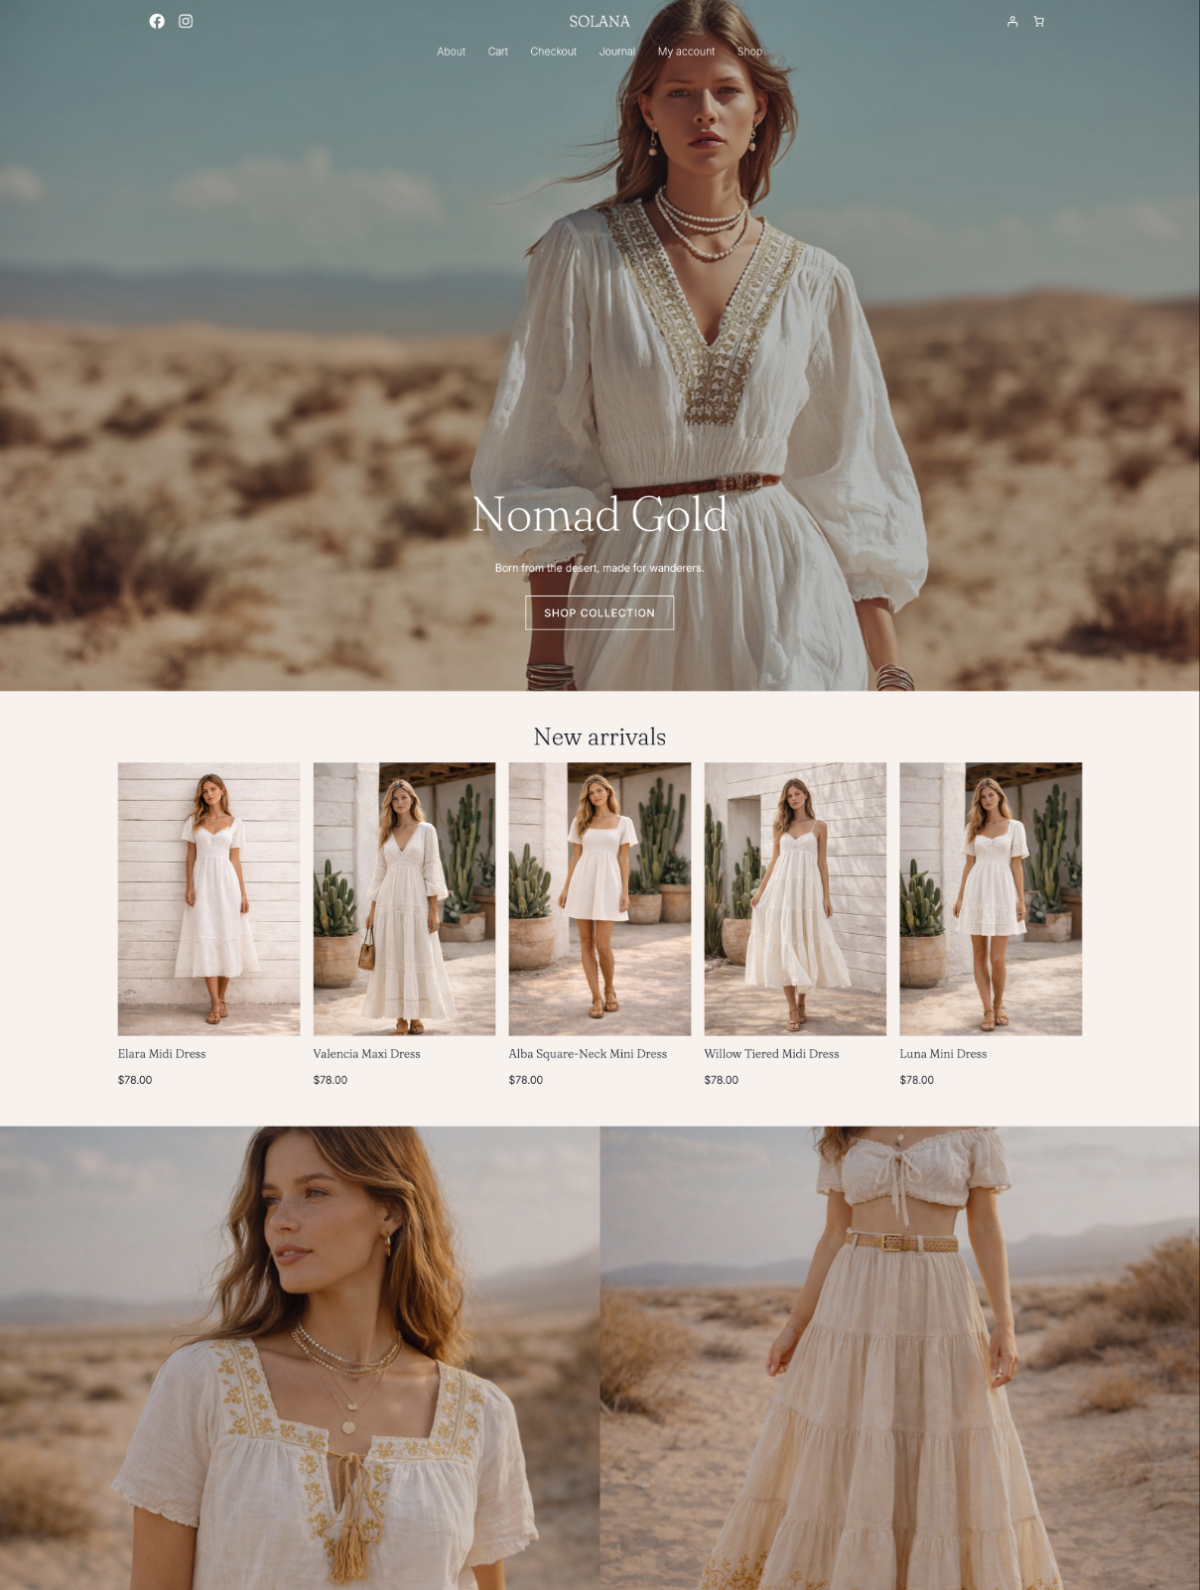
Choosing a Theme for Your Boutique
Your theme controls how your store looks. And for a clothing boutique, this matters — a lot. Your visuals are your first impression, and a theme built for fashion will give you layouts that actually show off your products.
There are a few things worth checking before you commit to any theme:
- Is it built specifically for WooCommerce? Generic themes often have weak shop and product page layouts.
- Does it load fast? Image-heavy fashion stores need a lightweight foundation.
- Is it block-based (Gutenberg)? Block themes give you the most flexibility for customising your layout without touching code.
- Does it include a demo you can import? Starting from a pre-built design saves you hours.
If you want a starting point, the Fashion Nook theme is free on WordPress.org and built specifically for boutiques and clothing brands. It’s the parent theme behind our Design Packs — clean, minimal, and WooCommerce-first.
Setting Up Your Products
This is the part that most guides gloss over. For a clothing boutique, your product setup is more involved than a simple single-item store, because you’re likely selling items in multiple sizes and colours.
WooCommerce handles this through variable products. Here’s how the structure works:
Simple product — one item, one price. Good for accessories, jewellery, or limited-edition pieces with no size options.
Variable product — one item with multiple options (size, colour, material). Each variation can have its own price, stock count, and SKU. This is what you’ll use for most clothing.
To add a variable product, go to Products > Add New and set the product type to “Variable.” You’ll then add your attributes (Size, Colour) and generate variations from those attributes. WooCommerce walks you through it step by step.
A few things that make your product setup stronger from the start:
- Write descriptions from the customer’s perspective, not a spec sheet. Fit notes, fabric feel, and care instructions all help people decide.
- Upload multiple images per product — front, back, detail, and ideally on a model or styled.
- Set stock quantities so WooCommerce can track inventory and mark items as sold out automatically.
Configuring Shipping
Shipping is where a lot of new boutique owners pause, but the setup doesn’t have to be complicated.
In WooCommerce, go to Settings > Shipping and create your first shipping zone. A zone is a geographic area — for example, “USA” or “United Kingdom.” Within that zone, you add shipping methods: flat rate, free shipping, or local pickup.
For most small boutiques starting out, a simple flat rate covers most situations. Set one rate for domestic orders, another for international if you plan to ship globally. You can always refine this later as you get a feel for your actual costs.
If you’re in Australia, NZ, the UK, or the US, look into shipping plugins that connect directly to carriers like Australia Post, Royal Mail, or USPS. These let you generate labels from your dashboard and offer live rate quotes at checkout.
Before You Launch: A Quick Checklist
Before you share your site with anyone, run through these:
- Test a full checkout using a test payment (Stripe has a sandbox mode for this).
- Check your shop, product, and cart pages on mobile — most of your customers will shop on their phones.
- Add your Returns and Refund policy. WooCommerce has a default page for this; customise it to match your own policy.
- Set up a basic contact page so customers can reach you.
- Connect Google Analytics or a similar tool so you can track traffic from day one.
FAQ
Do I need to know how to code to set up WooCommerce?
No. WordPress and WooCommerce are built for non-developers. The setup wizard, block editor, and theme customiser handle everything visually. You’ll set up payments, products, shipping, and your store design without writing a single line of code. If something does require a code change down the track, there’s usually a plugin that does the same thing without it.
How much does it cost to set up a WooCommerce clothing boutique?
Your main costs are hosting (around $5–$20 per month, depending on your plan), a domain name (around $15–$20 per year), and your theme (free options exist; premium themes typically run $39–$70 as a one-off cost, and are often well worth the cost). WooCommerce itself is free. Most boutiques can get set up for well under $100, not including stock or branding costs.
Can I use WooCommerce if I’m already selling on Etsy?
Yes, and many boutique owners run both at the same time while they build their own site. Your WooCommerce store and your Etsy shop operate independently — they don’t sync automatically, so you’ll manage stock separately unless you use an integration plugin. If you’re weighing up whether to make the move, this post covers the Etsy vs own website decision in detail.
What’s the difference between WordPress hosting and WooCommerce hosting?
Standard WordPress hosting typically handles a small WooCommerce store perfectly well. The “WooCommerce hosting” plans some providers sell are often just higher-tier shared hosting with a different label — and the price jump isn’t worth it at the start. Pick a reliable shared hosting plan, get your store running, and upgrade only if you hit genuine performance issues down the track.
How long does it take to set up a WooCommerce store?
A basic store — hosting, WordPress, WooCommerce, a theme, and your first products — can be set up in a day. A polished, fully configured boutique with all your products, shipping zones, pages, and branding takes closer to a week if you’re doing it properly. Don’t rush the product setup. That’s what your customers actually see.
Do I need a premium WordPress theme for my boutique?
Not necessarily. A well-built free theme can look professional and perform well. The real question is whether the theme is built for WooCommerce and has the layout features your boutique needs. If you find a free theme that fits your brand and has strong product page layouts, start there. You can always move to a premium child theme later to get a more specific aesthetic without rebuilding from scratch.
Where to Go From Here
Once your store is live, the work shifts from setup to visibility — getting the right people to find you. A well-built WooCommerce store is your foundation. Your theme, your product photos, and the way you tell your brand story on top of it are what turn visitors into customers.
If you’re not sure which theme is right for your boutique, this guide to WooCommerce themes for fashion brands walks through what to look for and which styles suit different boutique aesthetics. And if you’re still on the fence about leaving Etsy entirely, this post will help you think that through.
When you’re ready to explore themes built specifically for boutiques like yours, browse The Theme Nook’s WooCommerce themes →