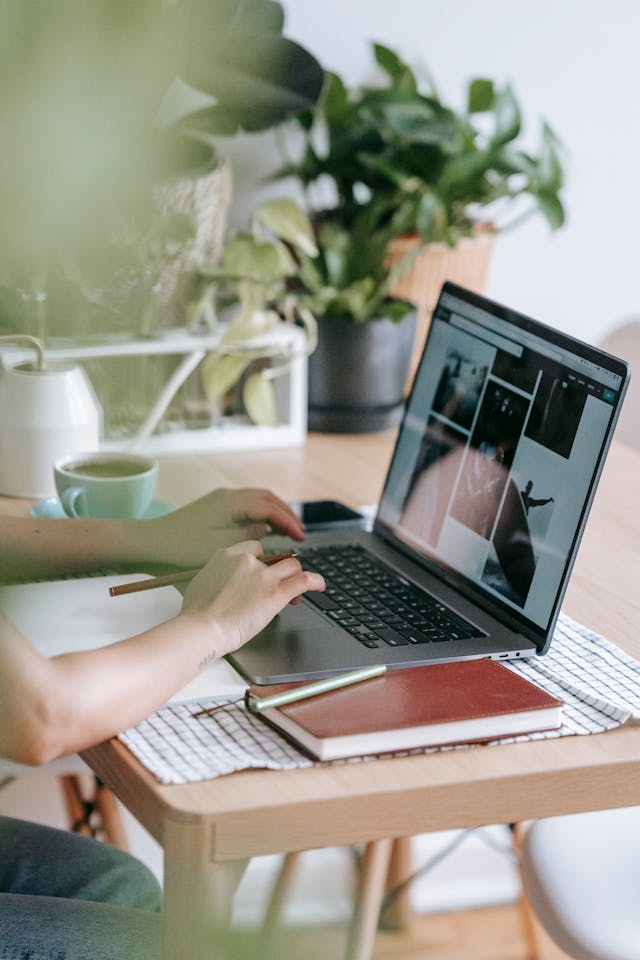
There’s a specific kind of disappointment that happens when you install a WordPress theme for the first time.
You found it, you loved the demo, you installed it — and then your site looks like a blank white page with a default header and maybe a “Hello World” blog post sitting there. Not quite the editorial boutique aesthetic you had in mind.
This is completely normal, and it’s fixable. Setting up a WordPress theme takes a few more steps than just installing it, and once you understand what those steps are, the whole thing clicks into place pretty quickly. Let’s dive in!
What installing a theme actually does (and doesn’t do)
Installing a theme gives your site its design framework — the fonts, the layout structure, the colour palette, the way your shop pages are organised. What it doesn’t do is fill your site with content.
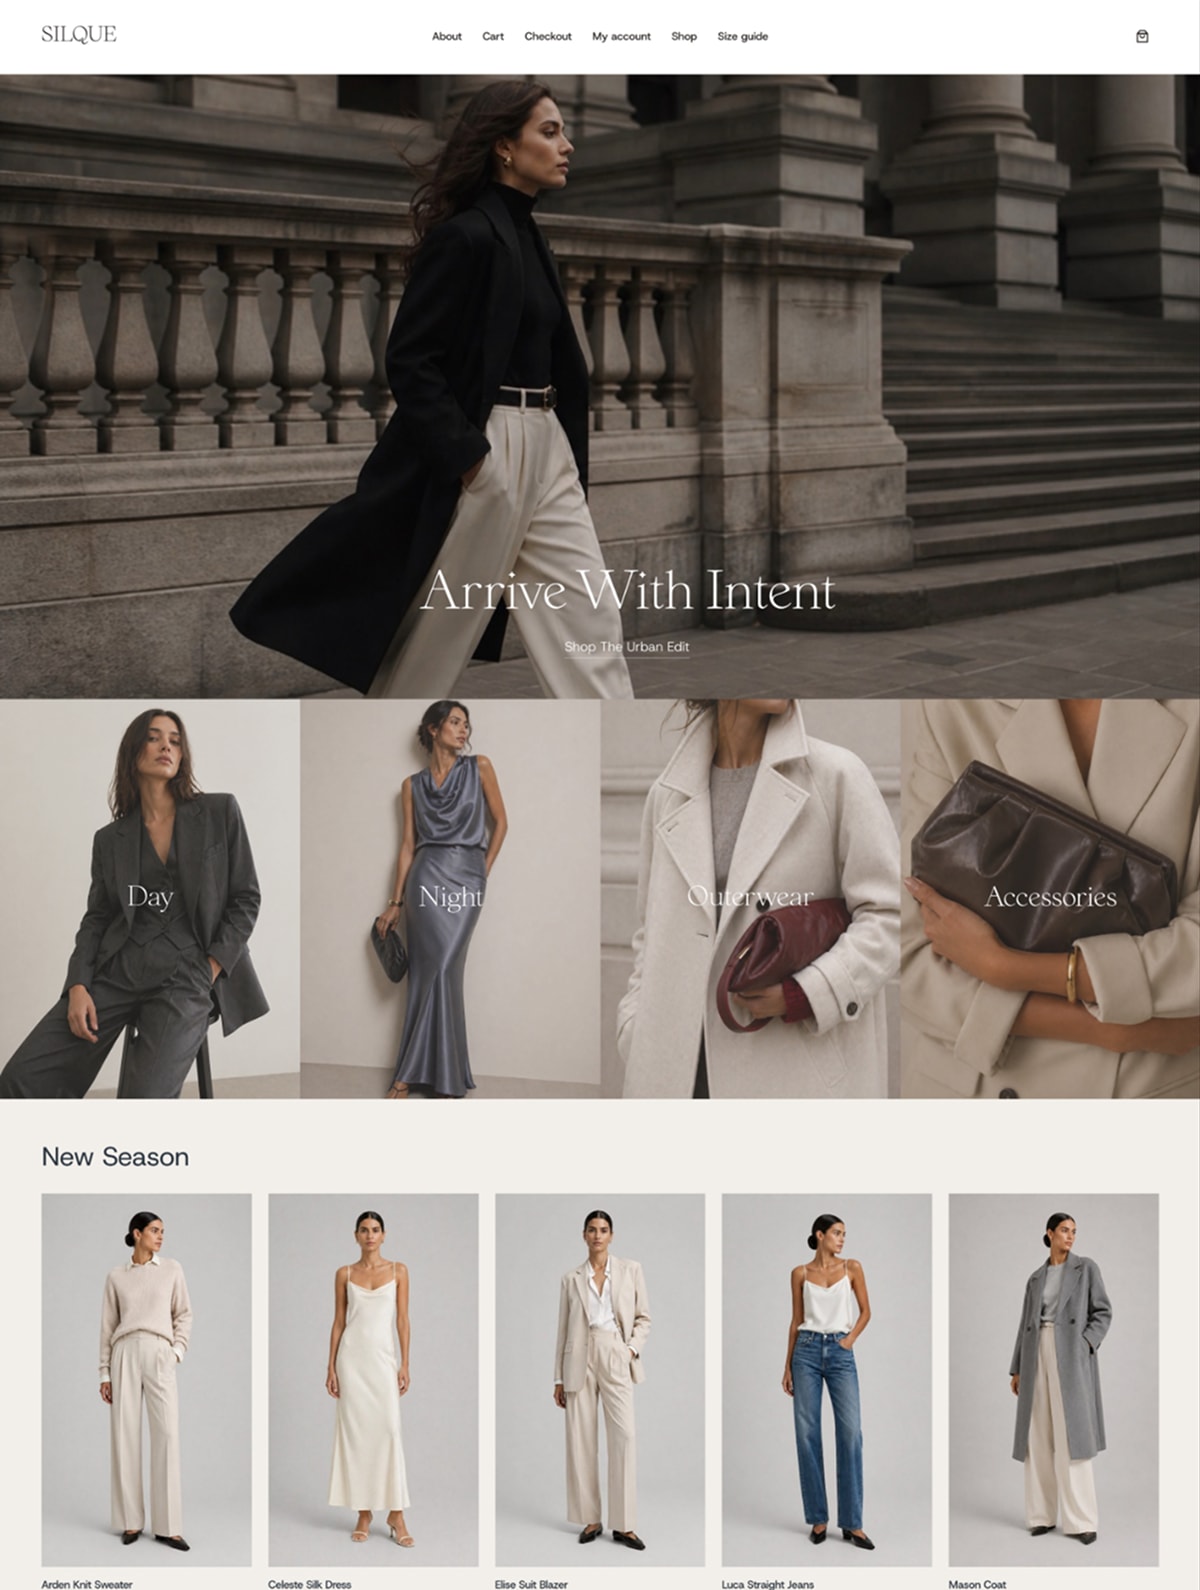
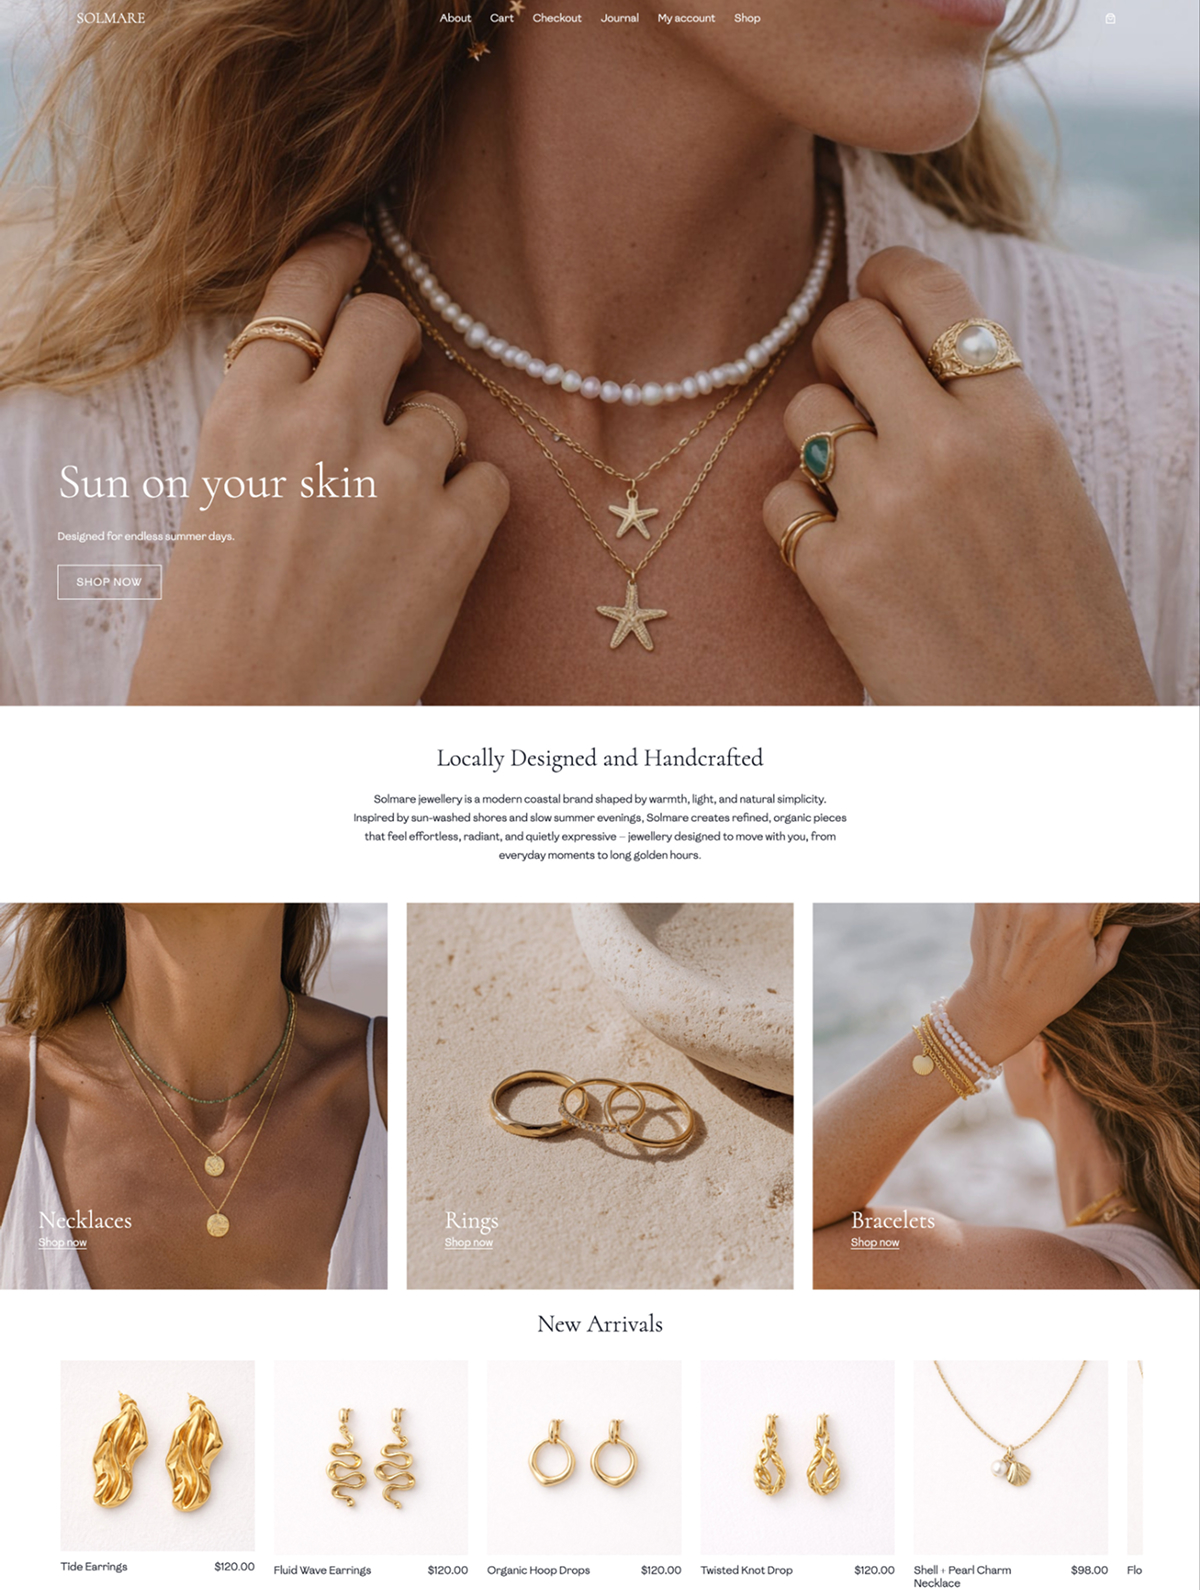
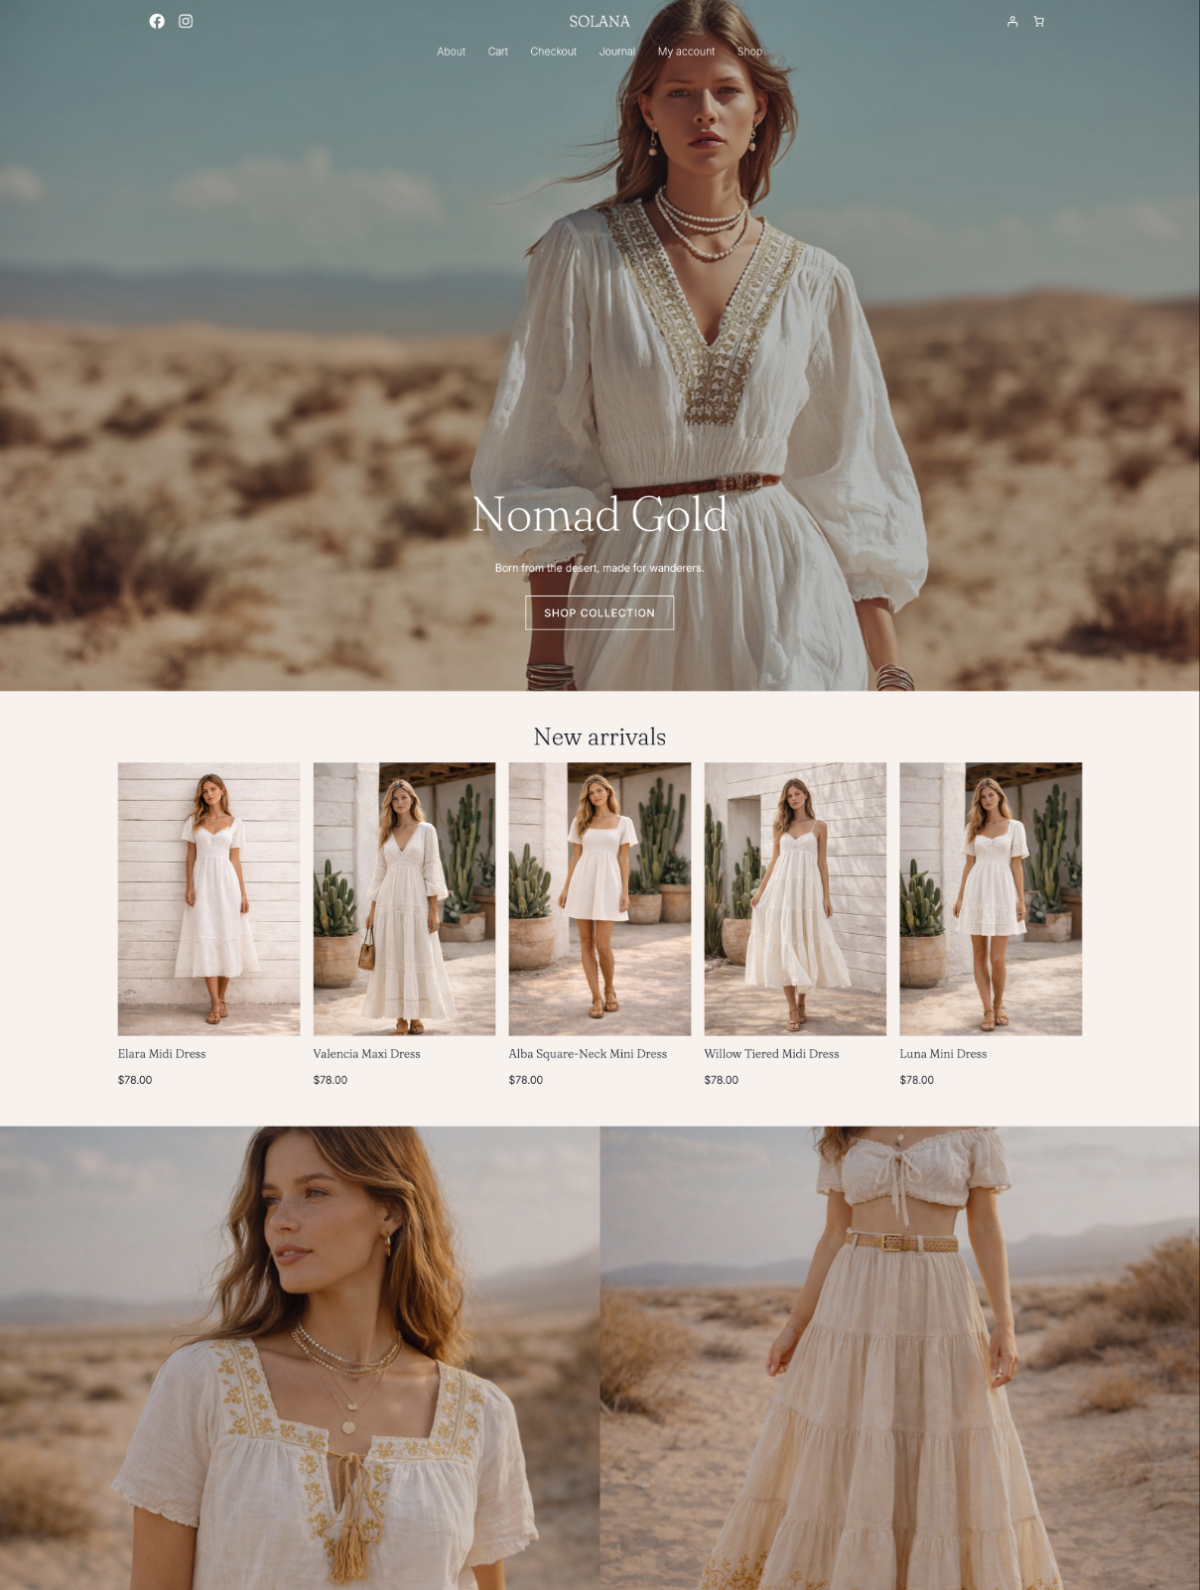
The beautiful demo you saw on the theme’s preview page? That’s the theme with demo content loaded in — product images, placeholder text, pre-built pages. When you install a fresh theme, you get the design system without any of that content. It’s like moving into a beautifully designed apartment that hasn’t been furnished yet.
So the goal after installing isn’t just “activate theme.” It’s: activate theme, import demo content if available, then customise it to match your brand.
How to install your theme
From your WordPress dashboard, go to Appearance → Themes → Add New.
If your theme is on WordPress.org (like Fashion Nook), you can search for it by name and install it directly. If you’ve purchased a premium theme and downloaded a zip file, click Upload Theme, choose the file, and install it from there.
If your theme comes with a child theme (like our Starter Templates do) install the parent theme first, then upload and activate the child theme. That’s it.
Once activated, your theme is live. Now the real setup begins.
Getting your site to look like the demo
Here’s the thing nobody really warns you about. You activate your theme, and your site looks nothing like that beautiful preview you screenshot-saved three times. Blank page, default header, maybe a “Hello World” post. It’s a bit deflating.
What you saw in the demo is the theme with pages already built out and placeholder content loaded in. None of that transfers when you install it — you’re getting the design system, not the finished interior.
If you’re using a paid theme that includes demo import (ours do), you can pull in those pre-built pages with one click and start customising from there. It saves a lot of time and means you’re swapping out placeholder images and text rather than building everything from scratch.
With a free theme, you’ll be building your pages in the block editor yourself. It’s more of a blank canvas situation. Totally doable, just takes a bit longer to get it looking the way you want.
Either way, plan to replace every image you see in the demo. Those are stock placeholders — your own photography is what’s going to make it look like your boutique.
Making it look like yours
Once your demo content is imported, the main place you’ll work is the Site Editor (Appearance → Editor). That’s where you swap in your brand colours, update fonts, and edit your header and footer. Individual pages you edit by opening them directly and working in the block editor.
If you haven’t sorted your brand colours and fonts yet, do that first — it saves going back and changing everything twice. The branding post walks through exactly how to do it for a clothing boutique.
A few things that trip people up
The theme looks nothing like the demo after installing. This is almost always because the demo content hasn’t been imported yet. Check your theme’s documentation — there’s usually a setup guide that walks you through it in order.
Parts of the theme look broken or incomplete. Some themes require specific plugins to be installed before everything displays correctly. It’ll say so in the documentation, but it’s easy to miss. If something looks off, check whether there are recommended plugins you haven’t installed yet.
The homepage is showing a blog feed instead of the designed page. Go to Settings → Reading and switch it from “your latest posts” to a static page, then select your homepage from the dropdown. This catches a lot of people out.
FAQ
Do I need to know how to code to set up a WordPress theme?
No. Modern WordPress themes are designed to be set up entirely without code. The block editor and Site Editor handle all the visual customisation through point-and-click interfaces. If you’re using a theme with a demo import, most of the heavy lifting is done for you from the start.
What’s the difference between a free and premium WordPress theme for a boutique?
Free themes give you the core design and basic functionality. Premium themes usually come with more layout options, built-in demo content, one-click import, email support from the developer, and features specifically designed for e-commerce like product quick-view or size guide integrations. For a boutique where the visual presentation really matters, a theme built specifically for fashion tends to give you a better starting point than a general-purpose free theme.
Can I switch themes later without losing my content?
Your products, pages, blog posts (aka content) is stored in your WordPress database and doesn’t belong to the theme. Switching themes changes the design but leaves your content intact. What might change is your page layouts, since those can be theme-specific. It’s worth keeping this in mind when you build your pages, but it’s not a reason to stay stuck on the wrong theme.
How long does it take to set up a WordPress theme for a boutique?
With a demo import and a clear sense of your brand, getting your theme set up and looking close to finished takes a few hours — not days. Most of that time is spent swapping out placeholder images and text with your own content rather than technical setup. The technical part is genuinely quick once you know the order of steps.
Do I need any extra plugins to make my theme work?
It depends on the theme. Some themes work entirely standalone. Others recommend or require specific plugins for things like sliders, contact forms, or product features. Your theme’s documentation will list any required or recommended plugins. For a WooCommerce boutique, WooCommerce itself is the main one — everything else is optional depending on what features you want.
What’s next
Once your theme is set up and your site is starting to look like your boutique, the next step is getting your products live in WooCommerce. That’s a whole topic on its own — but the good news is that once the design foundation is in place, the product setup feels much more satisfying because you can actually see how everything comes together.
If you haven’t picked a theme yet, Fashion Nook is free, built for WooCommerce, and designed specifically for clothing boutiques and fashion brands. It’s a solid place to start.
Related reading: